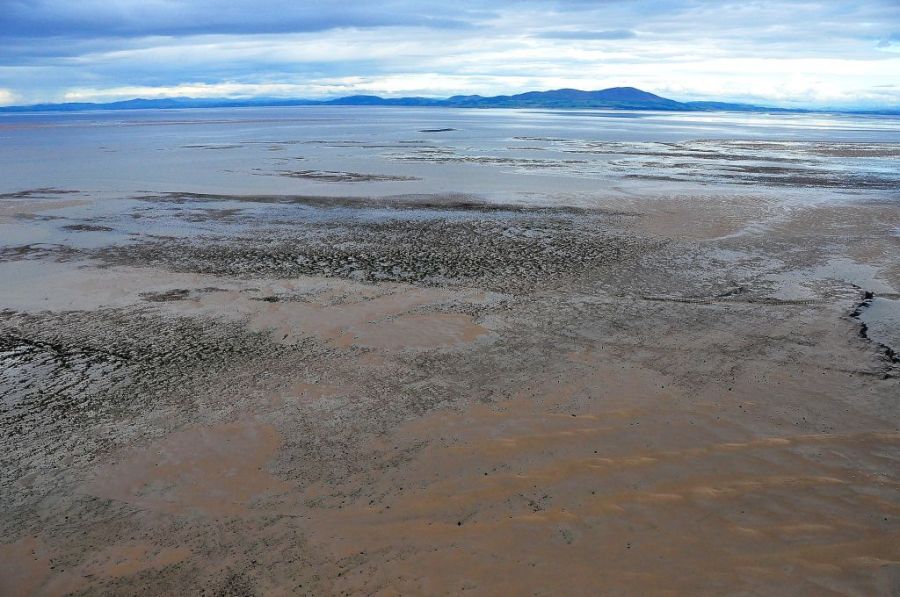
Looking N to Criffel; Dubmill Scar, the posts of the oyster lines; Ellison’s scar and sandbanks in the distance (photo: Andrew Lysser)
The design of the Solway: an aerial perspective, part 2
Looking N to Criffel; Dubmill Scar, the posts of the oyster lines; Ellison’s scar and sandbanks in the distance (photo: Andrew Lysser)
