← The design of the Solway: an aerial perspective, part 2
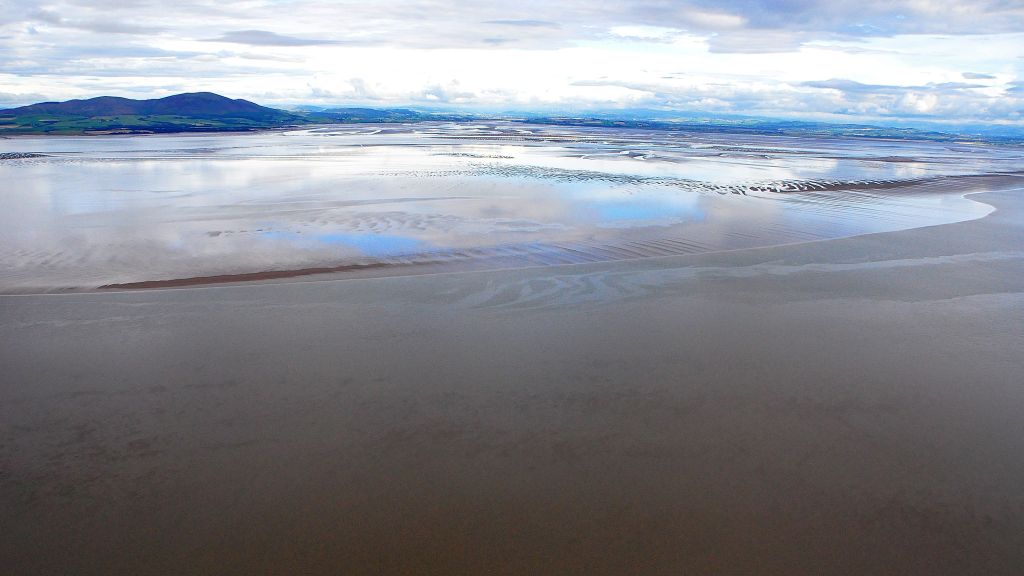
Looking across to Scotland (photo (C) Andrew Lysser)

